Metamask is an essential tool in the Ethereum space as it creates a user-friendly interface for interacting with the blockchain. For developers, being able to connect your local network instance to Metamask significantly streamlines the development process as we’re able to see the end-user experience upfront.
This is a quick guide to connecting Metamask to your local Hardhat node. If you would like to learn how to programatically interact with Metamask:
For further info on how to deploy and interact with smart contracts (tokens, NFTs, decentralised storage), you can refer to my other guides:
- ERC20 Using Hardhat: An Updated Comprehensive Guide
- ERC721 Using Hardhat: An Updated Comprehensive Guide To NFTs
- Creating Truly Decentralised NFTs — A Comprehensive Guide to ERC721 & IPFS
Hardhat Setup
We first need to crate a project directory and install Hardhat:
mkdir Metamask
cd Metamask
npm install --save-dev hardhat
Once the hardhat package has been installed, we can then run npx hardhat which will bring up some options for bootstrapping the project:
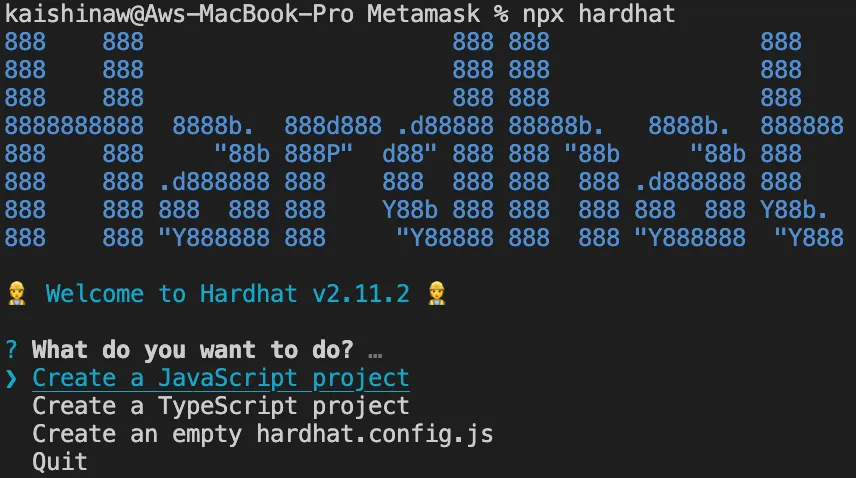
We will select the Create a JavaScript project option. You will be prompted with a series of questions which you can continuously select enter to. For the purpose of this guide, we will not be modifying the default template as we just need Hardhat’s local node deployment capabilities.
Running a Local Hardhat Network
Hardhat greatly simplifies the process of setting up a local network by having an in-built local blockchain which can be easily run through a single line of code:
npx hardhat node
Running the above command, you will get the RPC endpoint as well as a list of locally generated accounts. We will need the endpoint as well as the private keys for configuring Metamask.
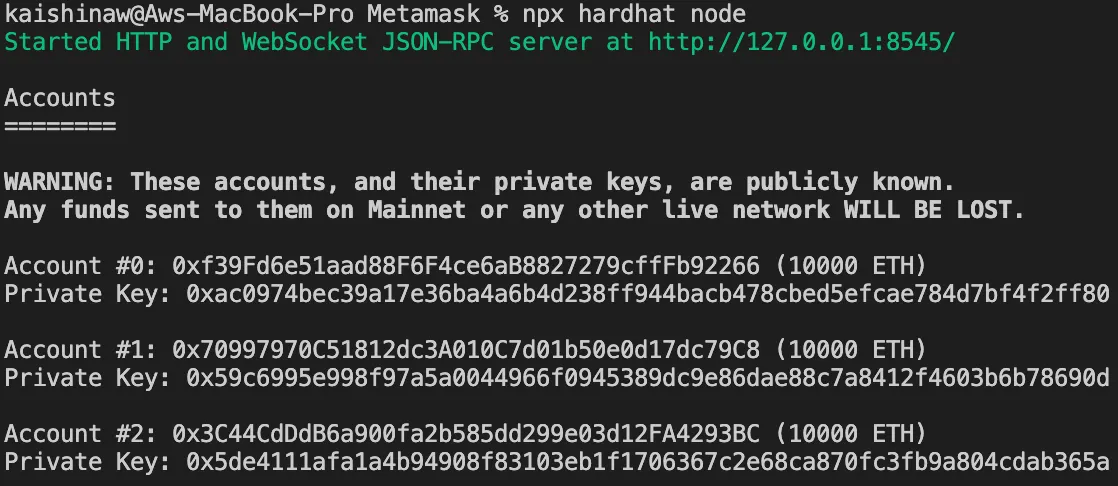
Do take note that this local blockchain only stores the interactions until the console is closed hence the state is not preserved between runs. Additionally, take the time to read through the details of the accounts as it is important that you do not use these sample accounts for sending any real money.
Add Local Network to Metamask
With our local Hardhat network running, we can then configure our Metamask to connect to it. In a browser with Metamask installed, select the network dropdown (this will likely be the dropdown with “Ethereum Mainnet” listed). Do note that you will need to have enabled “Show test networks” in order to view the full list as per the below screenshot.
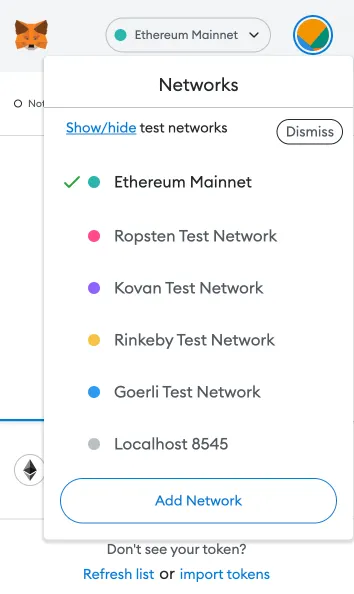
The quickest way to get connected is by selecting “Localhost 8545” which connects to the default RPC endpoint that many developer tools implement. In the interest of completeness, this guide will cover how to manually setup the network with customised parameters.
Select the “Add Network” button and you will be greeted with a form requesting for the relevant network details. In order to connect to our local network, we will be using the following:
- Network Name:
Hardhat— This is up to you and defines how the network will show up in your network dropdown. - New RPC URL:
[http://127.0.0.1:8545/](http://127.0.0.1:8545/)— The endpoint returned from runningnpx hardhat nodeearlier. - Chain ID:
31337— This is the default chain identifier that is implemented by Hardhat. You can refer to their documentation here. - Currency Symbol:
HardhatETH— This is up to you and defines the symbol for the local network currency (ie. ETH).
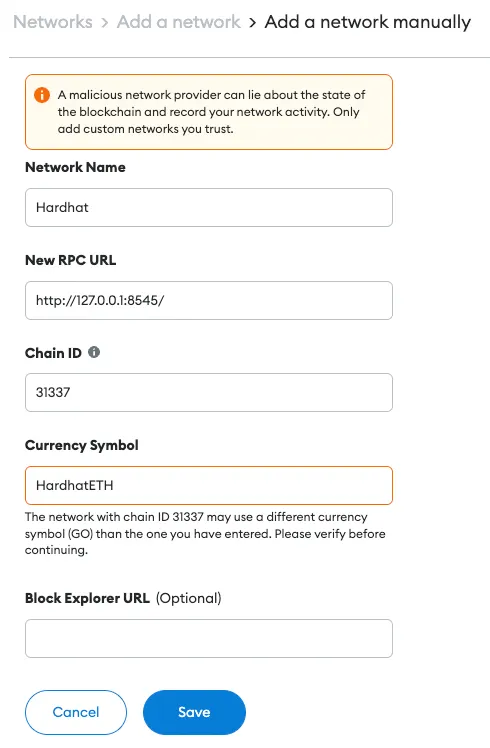
After saving the above, you will be able to see that a new network named “Hardhat” was created with a native currency symbol of HARDHATETH. Although the network is now connected, we are unable to see the accounts which have been credited with our test HARDHATETH as these accounts have yet to be added to Metamask.
Importing Test Accounts
Upon starting up the local network, Hardhat has also funded a list of accounts with the native test ETH (renamed HARDHATETH in our Metamask). In order to add these accounts to Metamask, we will need to add the private keys which were returned when we ran the npx hardhat node command.
With the private keys in hand, we can then select the accounts tab on Metamask (this is the colourful circle on top right) which will display various options for connecting an account.
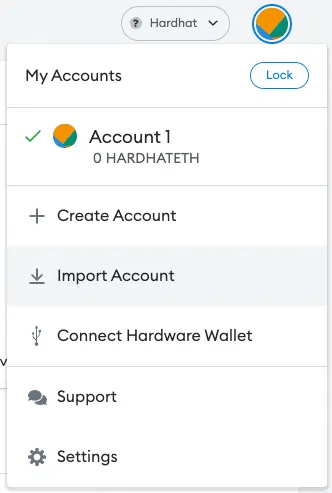
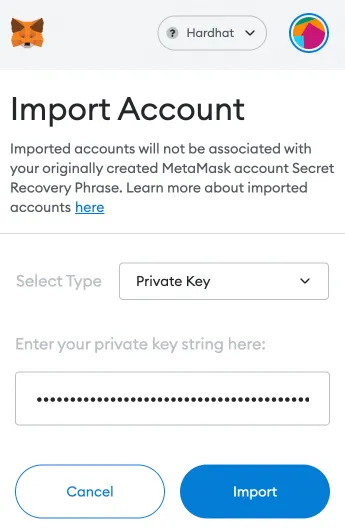
Select the “Import Account” option and Metamask will prompt you for the private key string. Paste the private keys from earlier, it should look something like this:
0xac0974bec39a17e36ba4a6b4d238ff944bacb478cbed5efcae784d7bf4f2ff80
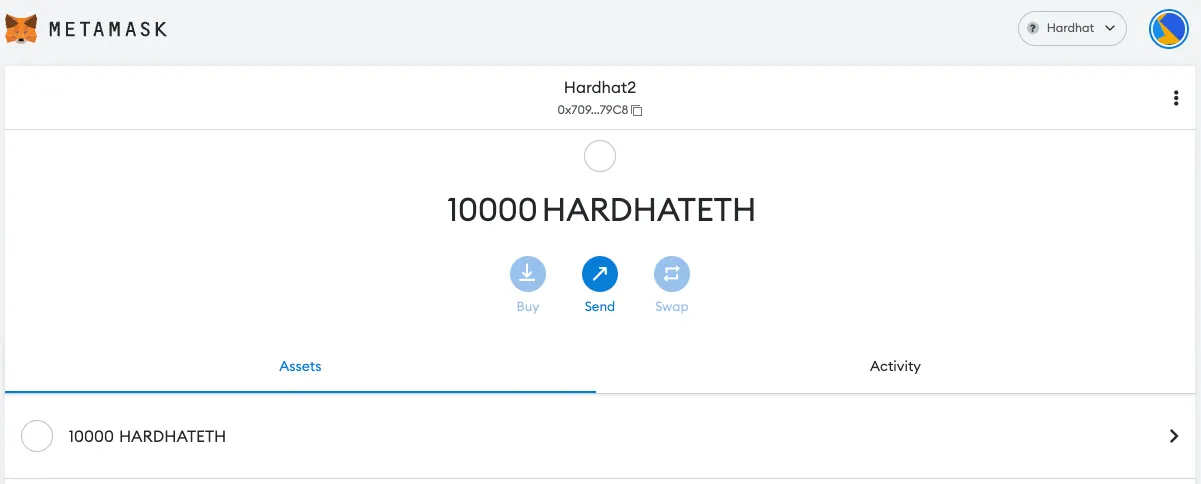
Once imported, an account with the corresponding address will have been added to Metamask. You should also be able to see a 10000 HARDHATETH in the imported account.
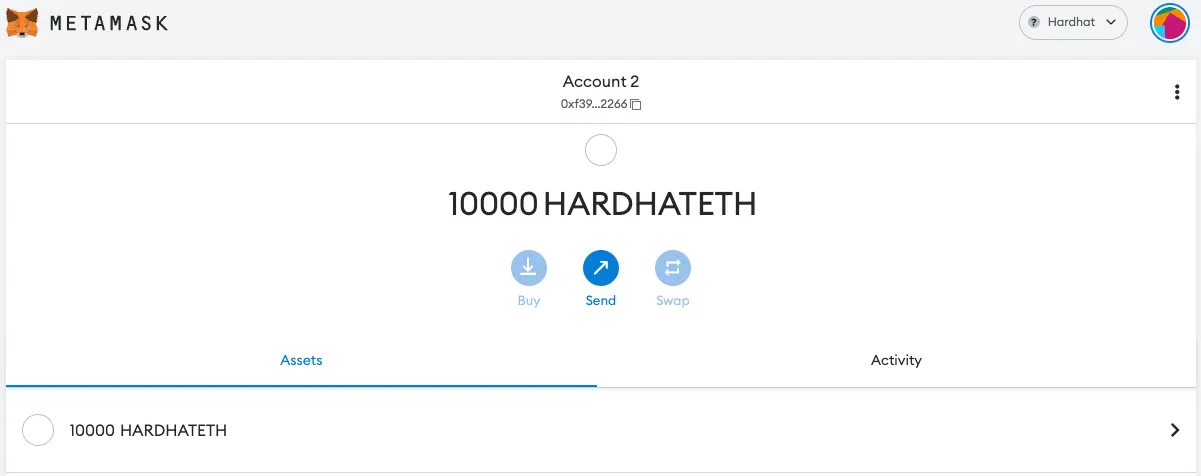
For easier reference, you can also change the name of the account by navigating to the “Account details” section in the settings.
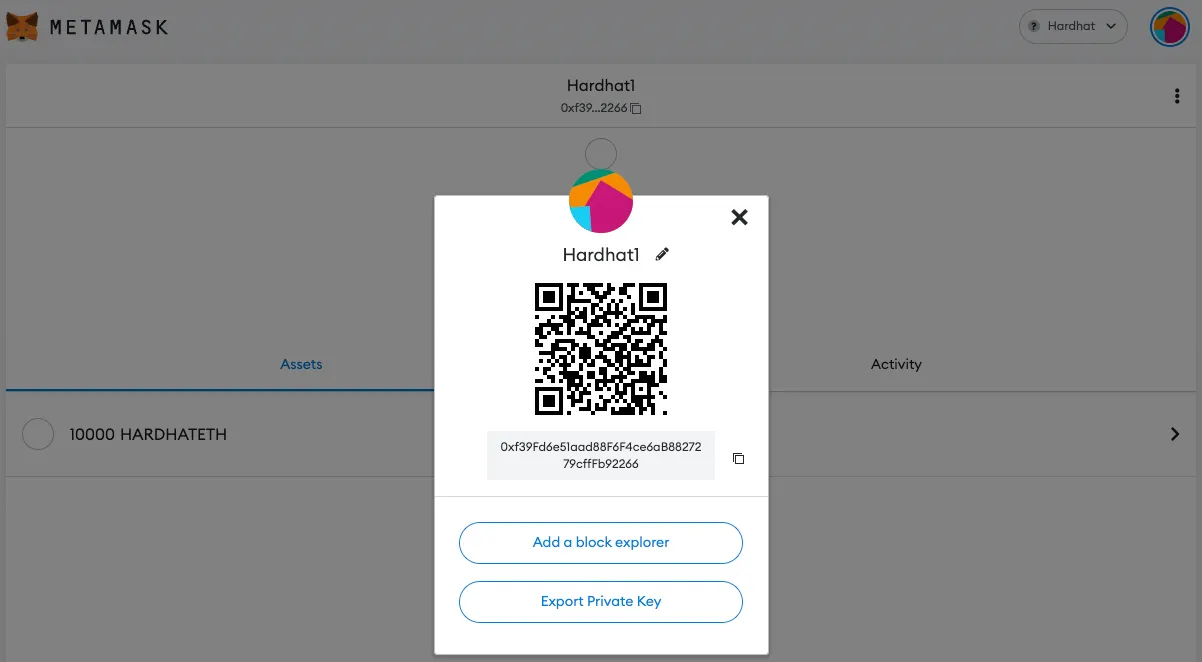
We will also continue to add the second test account to Metamask using the respective private key.
Testing the Network
To ensure that Metamask is working with our network, we can utilise its existing send function to transfer HARDHATETH between our development accounts. Notice that we do not have to write any code for this as Metamask already implements the standard functionality.
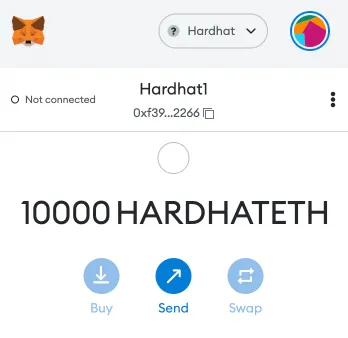
Of note, Metamask also allows us to easily transfer between our connected accounts by selecting the “Transfer between my accounts” option on the send to address page.
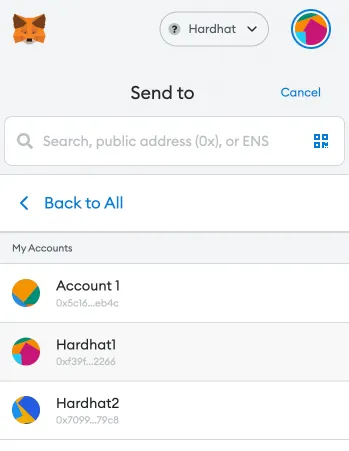
We will be transferring 32 HARDHATETH from our Hardhat1 to Hardhat2 account.
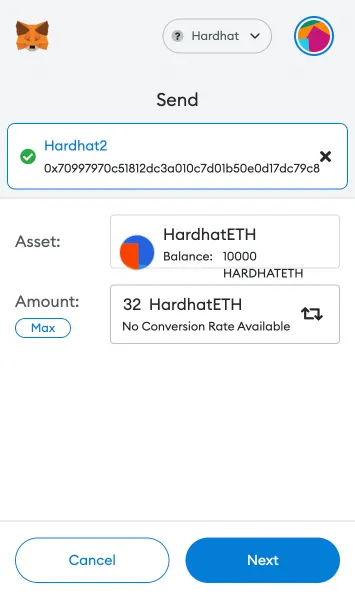
Upon confirming the send, you should be able to see 32 HARDHATETH being deducted from Hardhat1 and credited into Hardhat2.
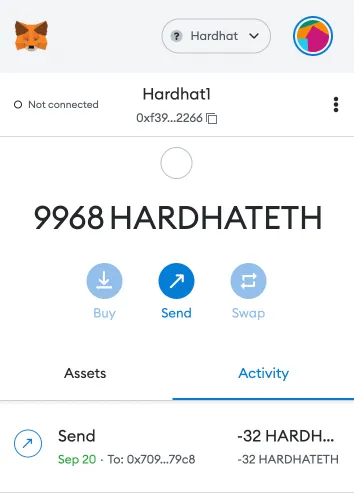
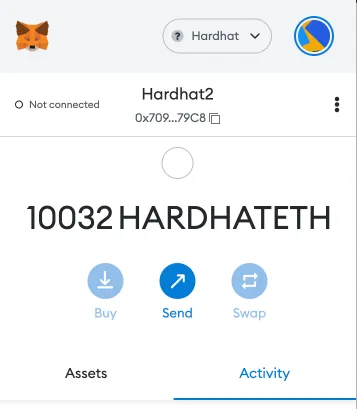
In your Hardhat console, also notice that the transaction has been logged:

Congrats, your local Hardhat node is now connected to Metamask!
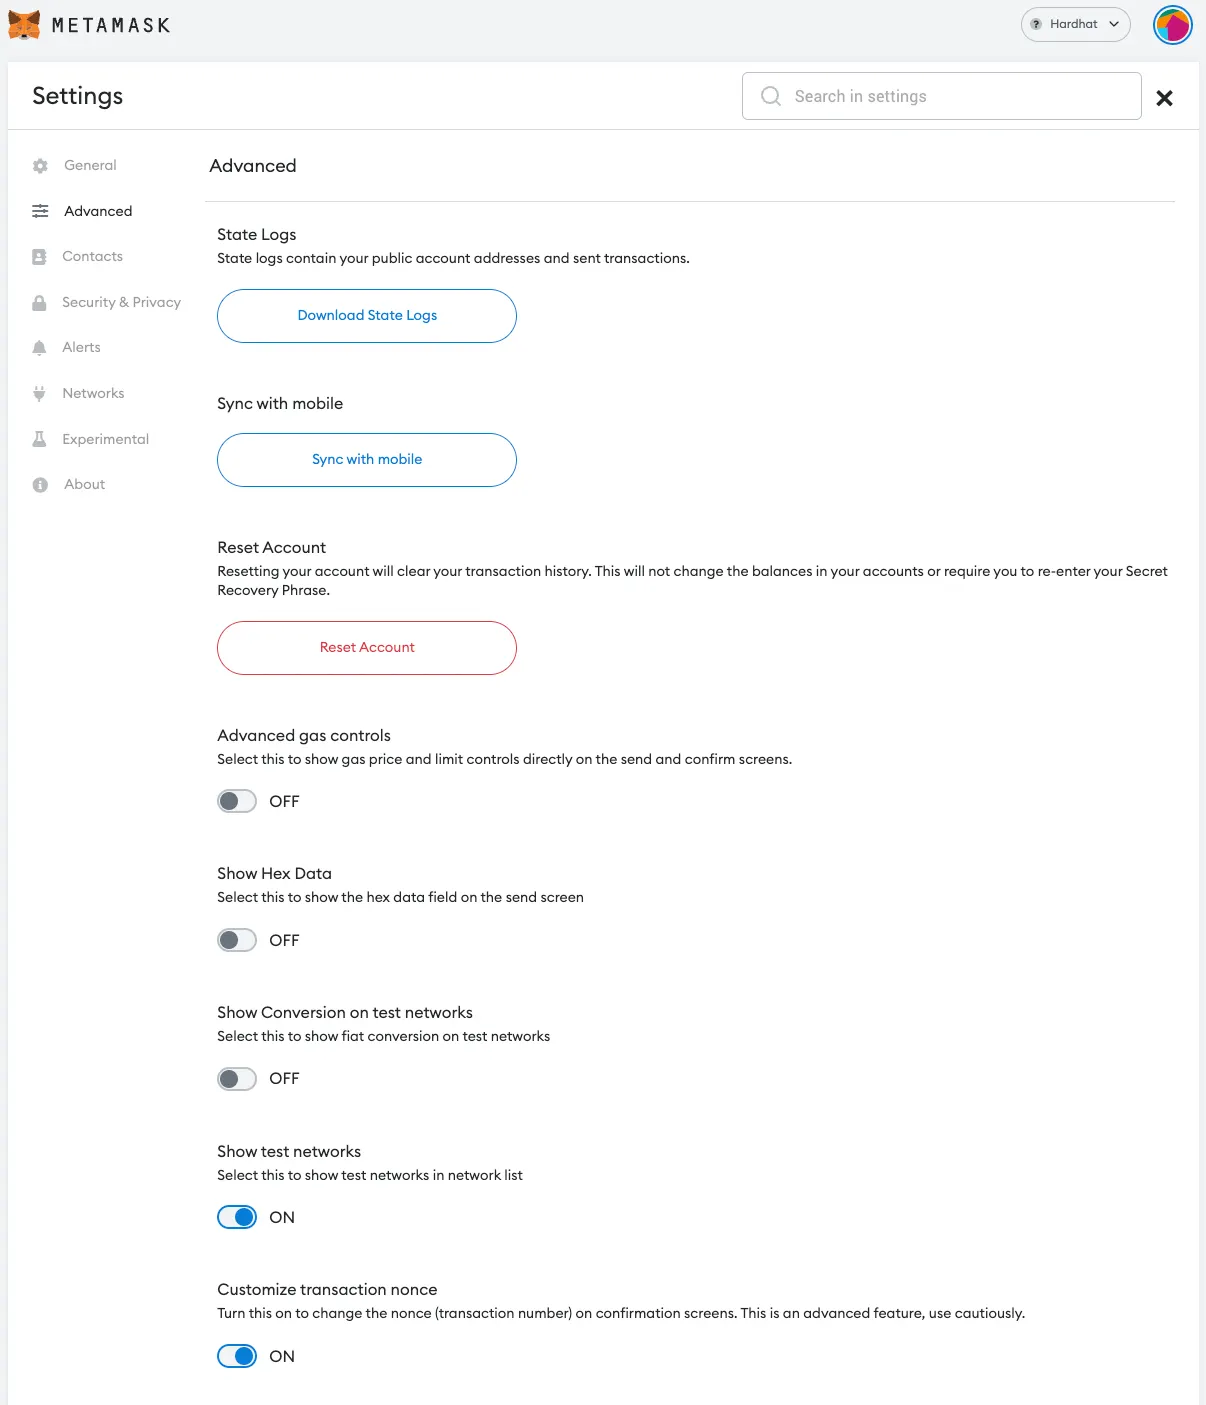
Do note that Metamask stores a nonce connected to the imported accounts hence if the local network is constantly restarted, you will need to enable the “Customize transaction nonce” option.