Without coding experience, web applications are the main way through which majority of users will interact with the blockchain. This is especially the case given the rise of user friendly cryptocurrency wallets such as Metamask which allows users to easily manage their keys via a user friendly interface. As such, the web app acts as the intermediate layer through which developers can implement additional non-blockchain (or smart contract) logic which is triggered via a user’s crypto wallet.
This is a quick guide on connecting Metamask with your Express web application. We will not be going into the details of Express but for those unfamiliar, Express enables us to quickly boot up our own barebones web application server. The Github repository for this guide can be found here.
For connecting Metamask with a convenience library, you can refer here:
If you would like to configure Metamask, you can refer to a separate guide:
Further info on how to deploy and interact with smart contracts (tokens, NFTs, decentralised storage):
- ERC20 Using Hardhat: An Updated Comprehensive Guide
- ERC721 Using Hardhat: An Updated Comprehensive Guide To NFTs
- Creating Truly Decentralised NFTs — A Comprehensive Guide to ERC721 & IPFS
Setting up an application skeleton
We first need to create a project directory and install Express:
mkdir Express
cd Express
npm install express
With the Express package installed, we can then utilise express-generator to quickly and conveniently setup an app template. Before running express-generator, we can view the setup options by running the following:
npx express-generator --help
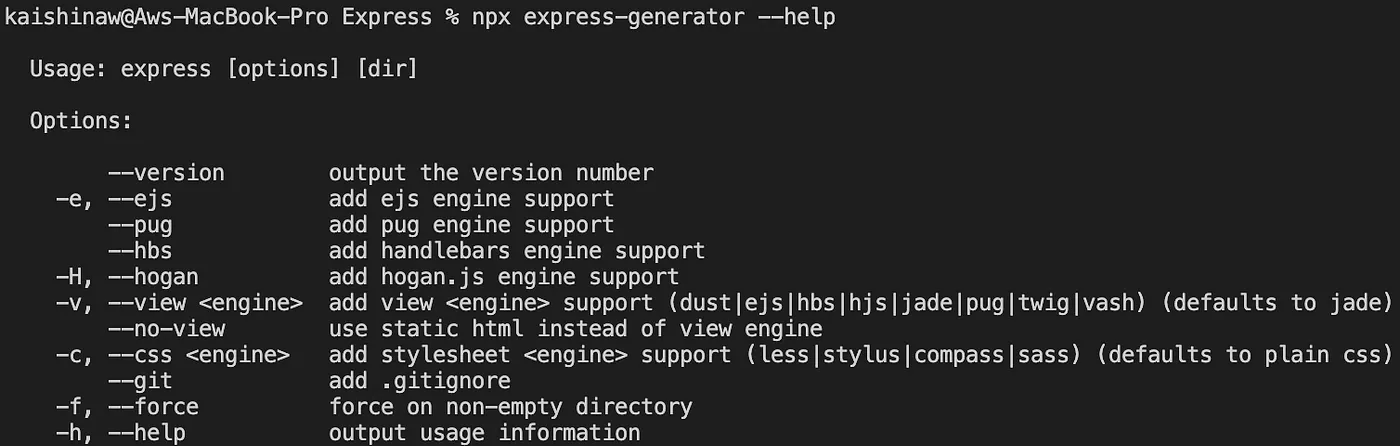
For our purposes, we want to bootstrap our project using EJS as this minimises the need to context switch given its similarities to HTML. As such, we will run express-generator with the EJS view flag:
npx express-generator -v ejs
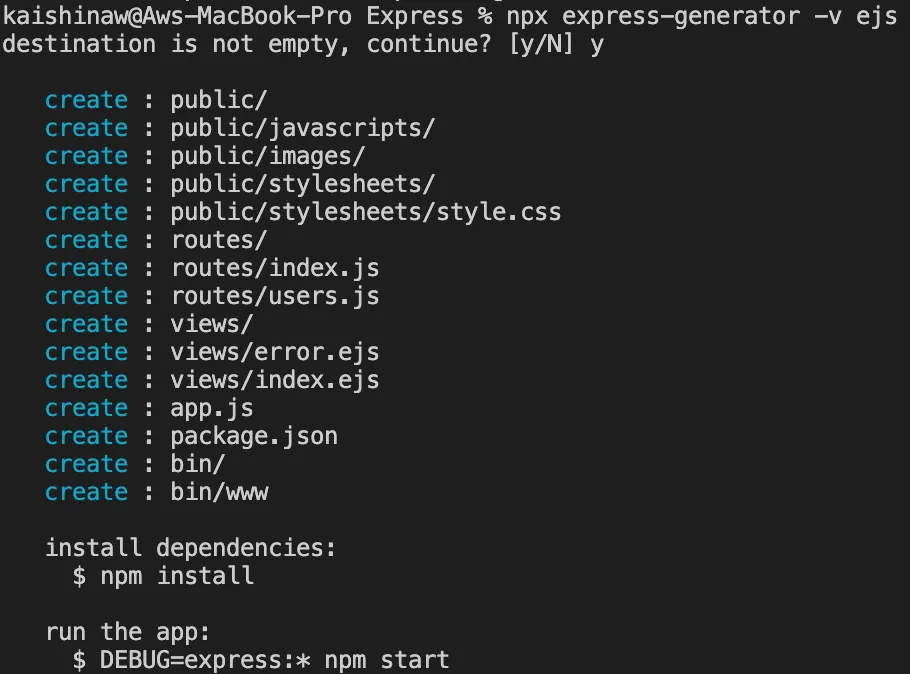
As instructed, we will also install the required dependencies:
npm install
For the sake of convenience, we will be using [nodemon](https://www.npmjs.com/package/nodemon) to automatically refresh our application whenever we make any changes. The command below will install nodemon globally so that you can use it for your other projects:
npm install -g nodemon
Once installed, we can start our web application by running the below:
nodemon start
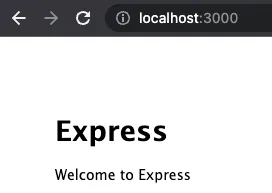
You should then be able to see a welcome page below when visiting the default port at localhost:3000.
Express is now setup and we can go ahead and make the necessary changes to connect Metamask to our Express instance.
Updating the Views
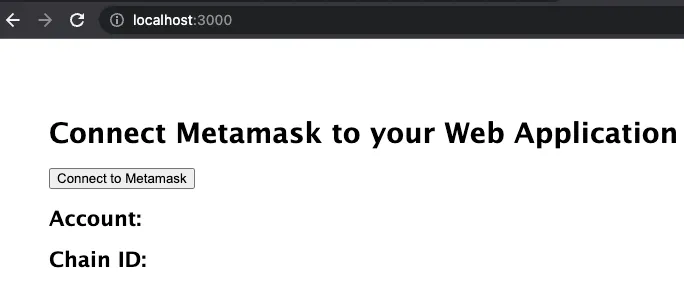
The first thing we will do is to change the view so that the page display is more intuitive for our purpose. Navigate into the index.ejs file located in the /views folder. We can replace the <body> with the code below:
For this guide, we will be keeping track of the active account and chain id. As per Metamask best practice, we have also included a button for the user to initiate the connection request. The connection request should always be initiated by the user and not on page load.
Additionally, we have also included an index.js script which we will be creating shortly. This script will hold the code required for Metamask to connect to the application.
Lastly, we have also changed the title that is fed into the page by modifying index.js under the /routes folder. The res.render feeds the data passed in the function to our index.ejs file to be rendered.
Saving the above, nodemon would have automatically refreshed your application and your browser should display the following:
With the looks out of the way, we can get down into the real substance.
Script to connect Metamask
As mentioned above, we will be creating a new index.js file which will contain the connection script. As part of bootstrapping our project with express-generator, a /public folder has been created which enables Express to serve static assets to our application. As such, we will be creating our file in the /public/javascripts/ sub-directory:
touch public/javascripts/index.js
We can then copy and paste the following into our index.js file:
We start by initialising our EJS components as well as the 2 variables which we will be monitoring: activeAccount and activeChainId. These will be initialised to null and only given a value once the user has initiated the connection to Metamask by clicking the “Connect to Metamask” button.
getAccount() and getChainId() uses the window.ethereum object implemented by supported browsers (tested using Chrome and Brave). The ethereum object is the main channel through which the application will interact with Metamask.
Additionally, we have also added event watchers on accountsChanged and chainChanged to update the respective variables when the user changes their Metamask settings. Do note that this will only work once a user has actually given permission for the site to connect to their Metamask account.
That’s all the code that is required so we can save the file and start interfacing with our application via Metamask UI.
Connecting Metamask via UI
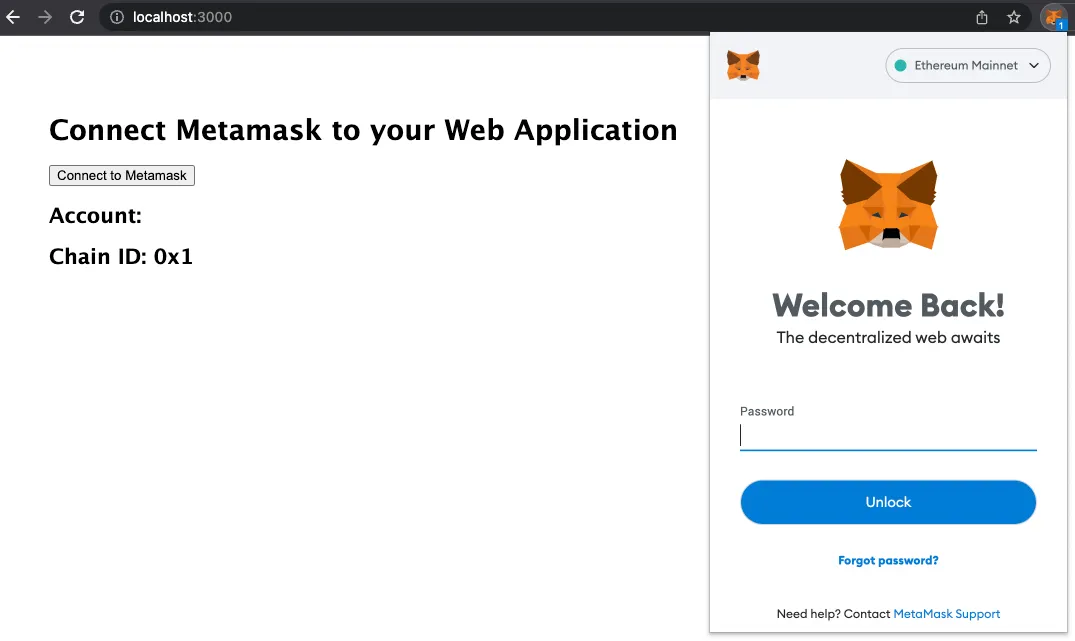
Navigate to localhost:3000 and select the “Connect to Metamask” button. This should prompt you to login to your browser’s Metamask extension:
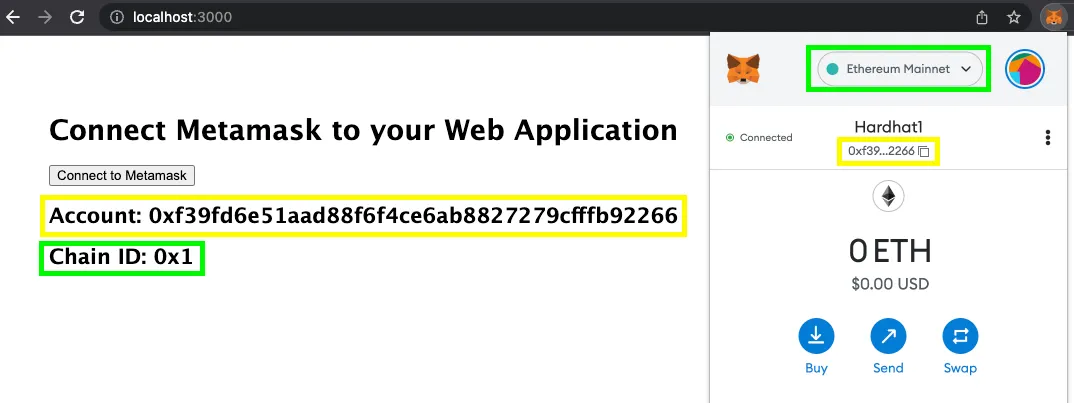
Once logged in, you should be able to see the active account and chain id updated. Notice that the account displayed in Metamask corresponds to the address displayed by our application (highlighted in yellow). Moreover, if you’re connected to the “Ethereum Mainnet”, you would also see the chain id represented in hexadecimal (highlighted in green).
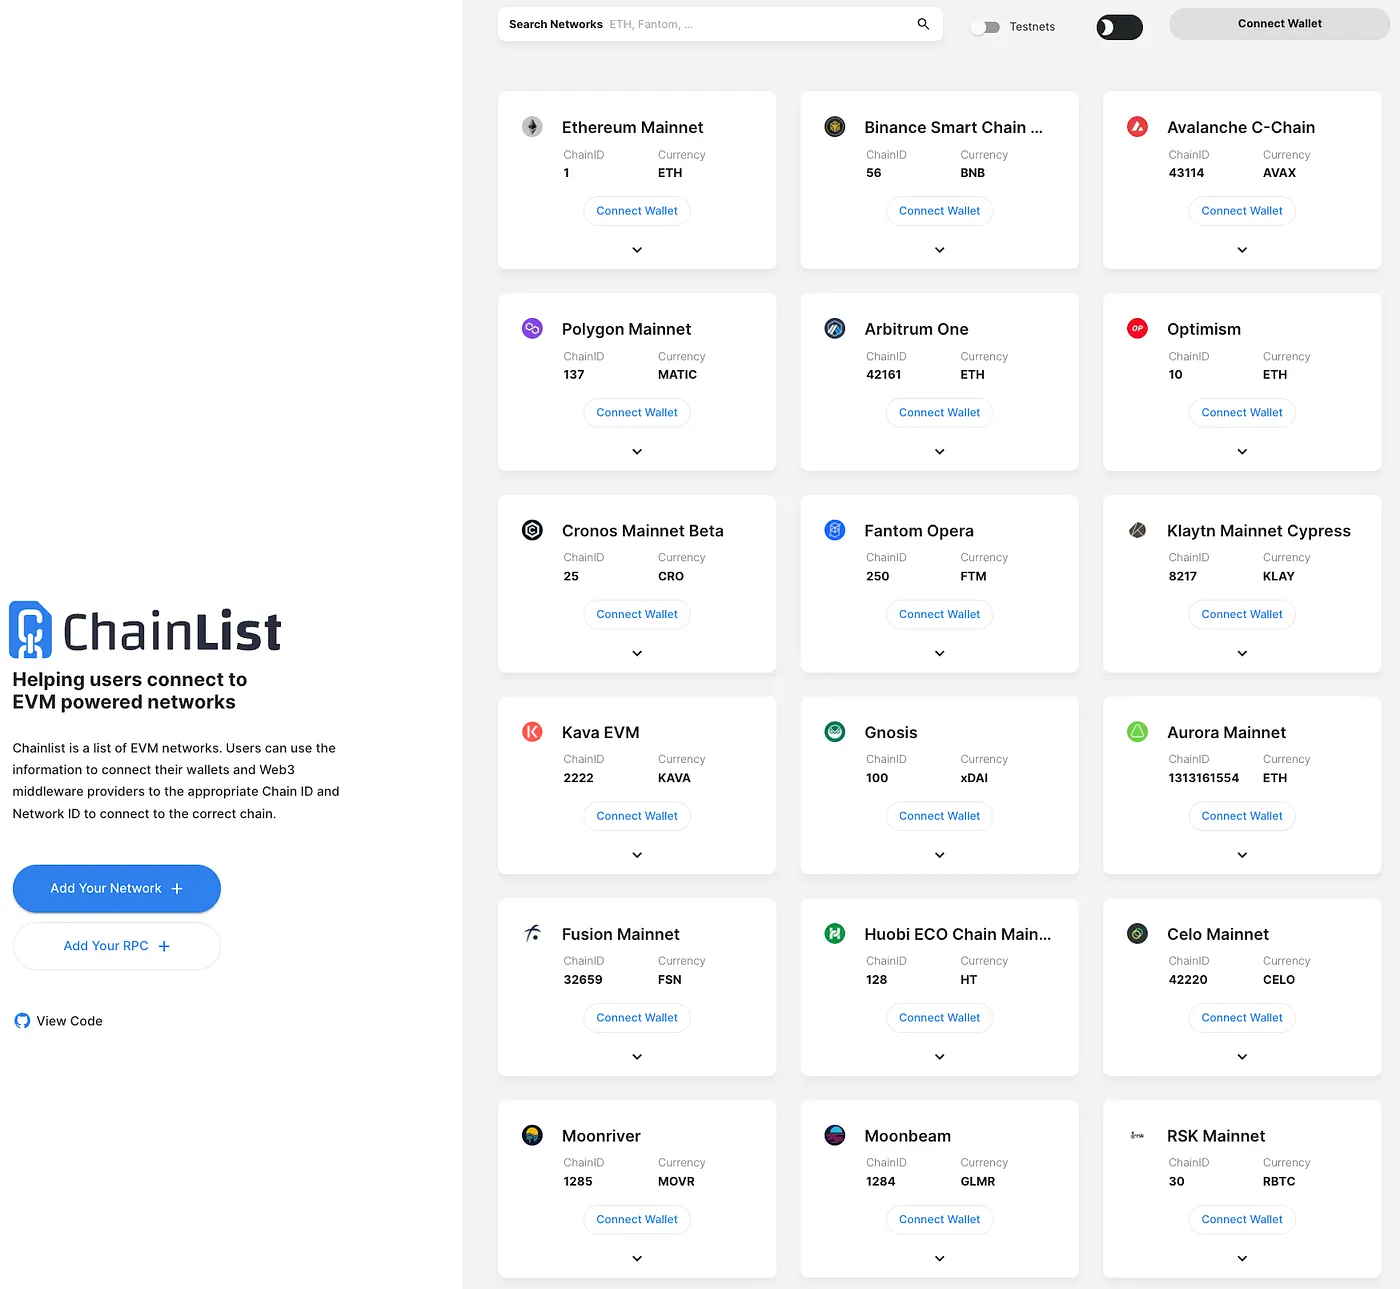
You can view the full list of chain ids on chainlist.org:
Changing the account
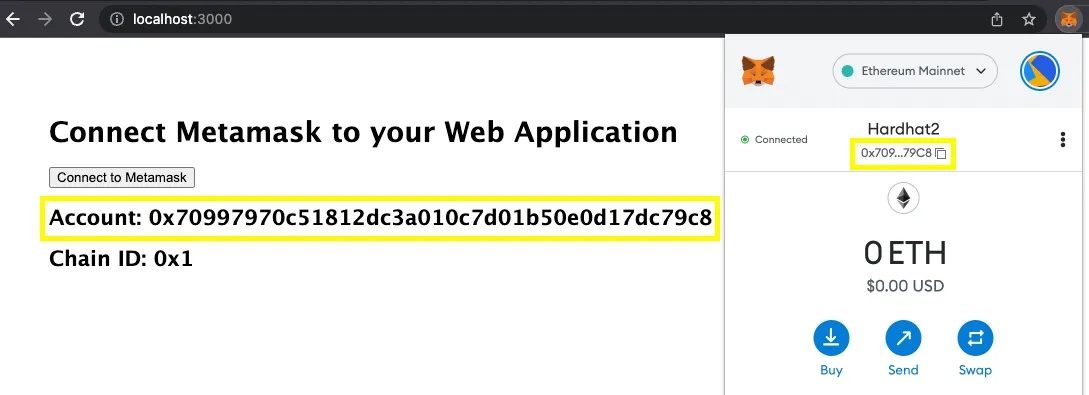
Remember that we also implemented an event watcher to change the active account when a user switches their Metamask account. To test this, we can change the Metamask account by selecting the colourful circle in the top right (refer to “Importing test accounts”). Once selected, both the addresses in Metamask as well as our application would have updated.
Changing the network
We have also implemented an event watcher for network changes initiated by the user on Metamask. For completeness, we will be connecting to our Hardhat test network which we set up in the previous guide but you can still follow along if you have other networks setup in Metamask. Open the network tab by selecting the “Ethereum Mainnet” dropdown in Metamask:
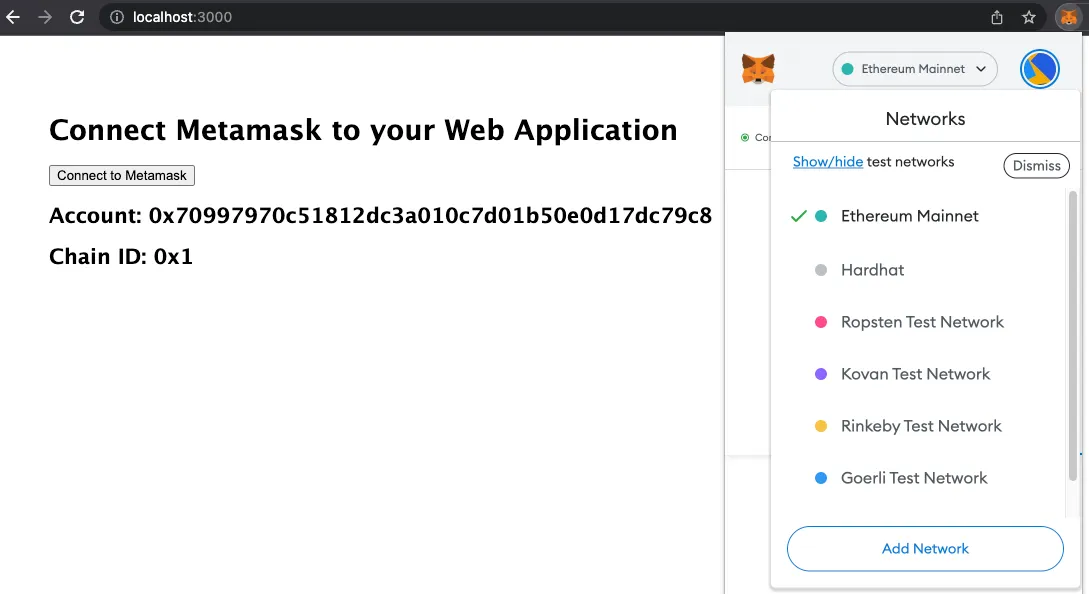
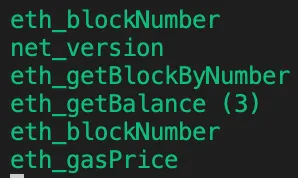
On selecting “Hardhat”, you will also be able to see that logs were printed to your Hardhat console:
Notice that the chain id has also been updated with the hexadecimal value and we are also able to see out test HARDHATETH.
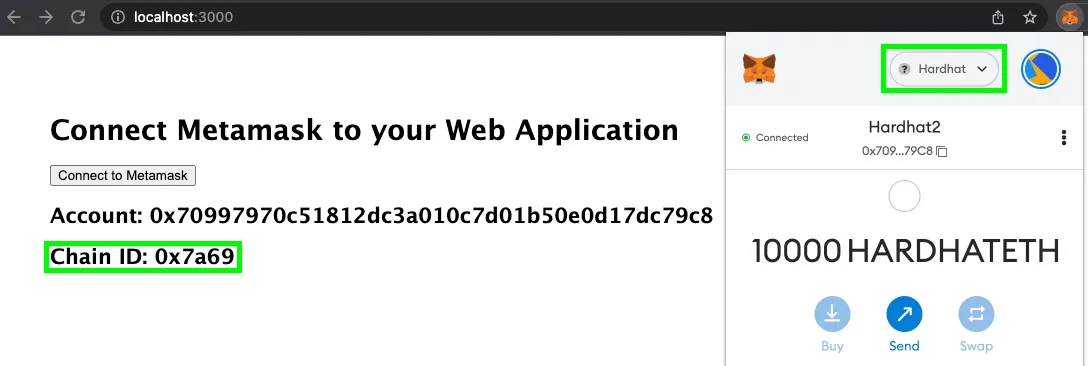
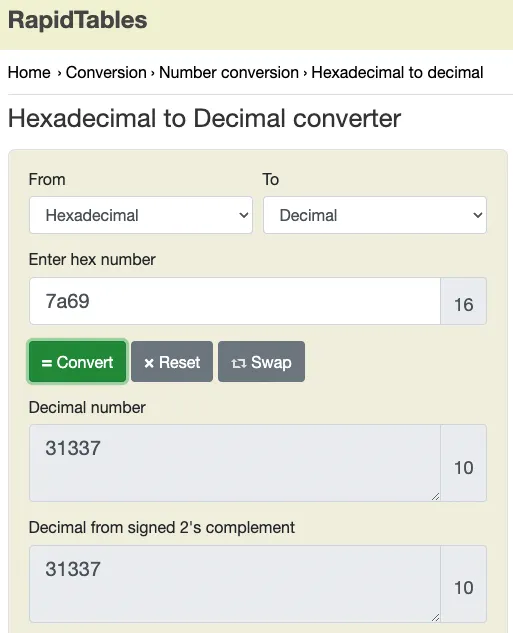
Pasting this hexadecimal value 7a69 into a converter, we are able to see that this corresponds to a decimal value of 31337 which is the default Hardhat port which we setup previously!
Congrats, your Express web application is now connected to Metamask!